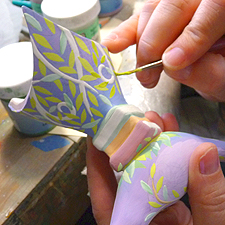
Wheel throwing and hand building are used separately and in combination to create these one of a kind ceramic pieces. After the pieces are dry enough to handle, their surfaces are carved in relief. They are then dried thoroughly.
Each piece is hand painted with underglaze before the first firing. The blending of color is done by brush work alone–no airbrushing is used. To achieve the sense of depth and lush color, the underglaze (which is semi-transparent) is applied onto the surface of the clay in many separate layers.
Because of the transparent nature of the underglaze, each layer picks up the color from the layer underneath it which results in very rich colors. It is that same transparency, however, that requires up to fifteen and twenty layers of underglaze to be built up on the surface in some areas to block out darker background colors. When you run your finger over the surface of the underglaze you can actually feel the built up areas. Each layer needs to dry thoroughly before another can be applied. For that reason, several pieces are in process at the same time.
After all the color has been applied, black underglaze is painted on with a detail brush to give definition to the painted images. Some of the detail work is achieved by using a sgraffito technique. Black is painted on in a small section and while it’s still wet, an exacto knife is used to carve away the black to reveal the color underneath. It normally takes as long to apply black as it does to apply all the other colors combined on any given piece.
Once all the detail work is finished, the pieces are fired for the first time to a temperature of 2018 degrees. Clear glaze is then brushed over the pieces (three to five layers depending on the colors) and they are fired to 1945 degrees. During this firing, the glaze saturates the pigment in the underglaze and brings out the brilliant color. It also seals the surface and makes it safe for food.
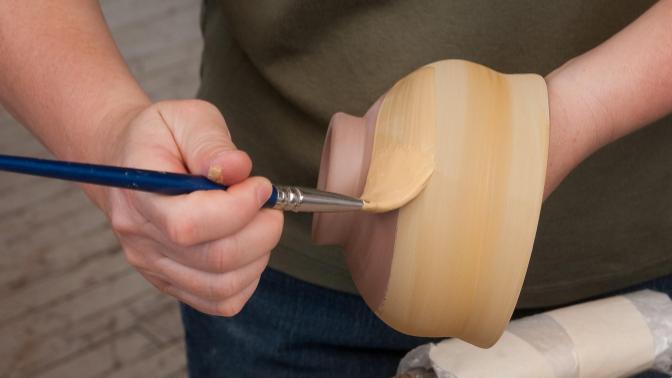
Yellow underglaze is applied to block the dark hue of the red earthenware. Then, several layers of a lighter yellow underglaze are added.
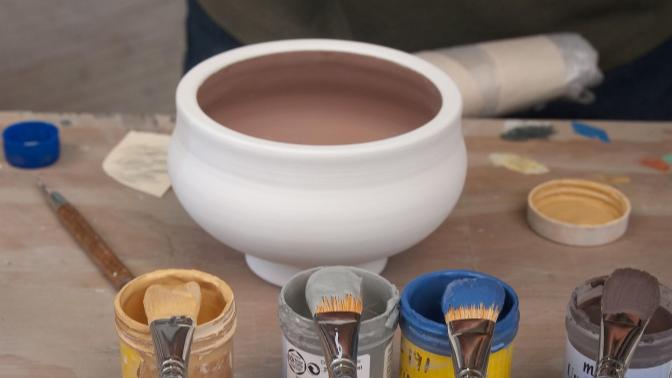
To create a background blend, I lay out the underglazes in the order that they will be applied, because I will blend them right on the surface of the pot.
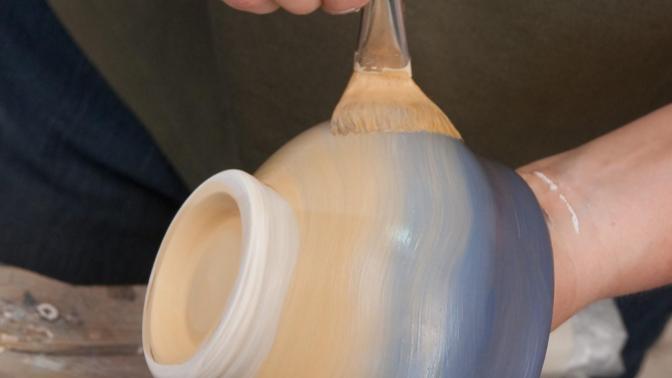
Depending on how many colors are being blended, this step can add anywhere between three and six layers of color to the surface.
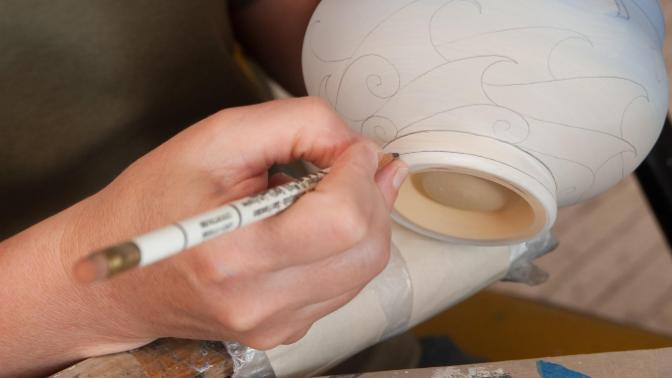
Once the base layer blend is completely dry, I draw directly on the surface of the underglaze with pencil to establish the design.
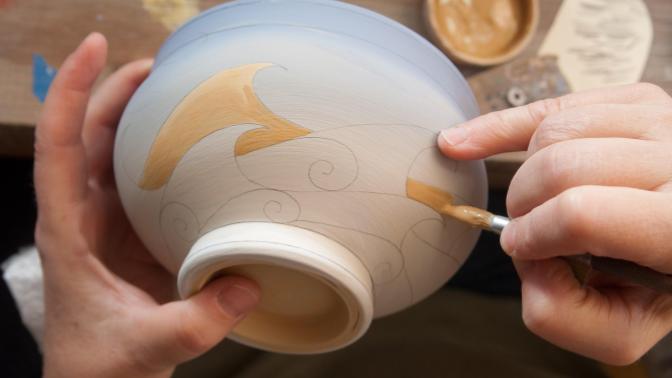
Before adding fill color, I’ll brush yellow underglaze on areas where the darker background color needs to be blocked out (yellow blocks better than white).
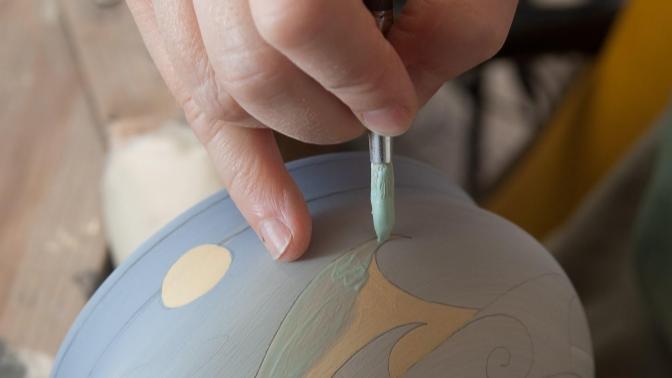
I use three layers of fill color to make sure I have a nice solid layer of color. I’ll fill all the areas before going back and adding blended shading.
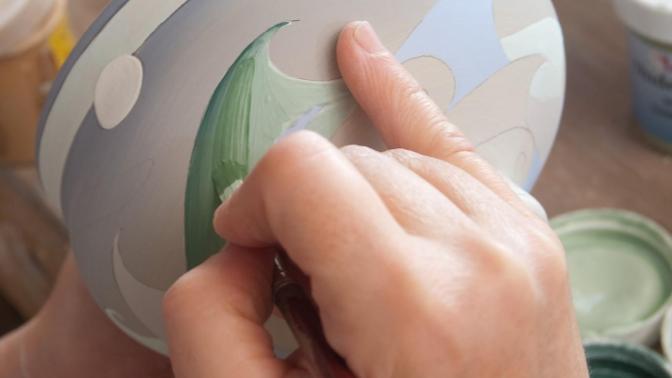
After All the fill colors have dried, it’s time for the blend coat, which usually consists of one to three layers of darker version of the fill color. This basically creates all of the shadows on the piece.
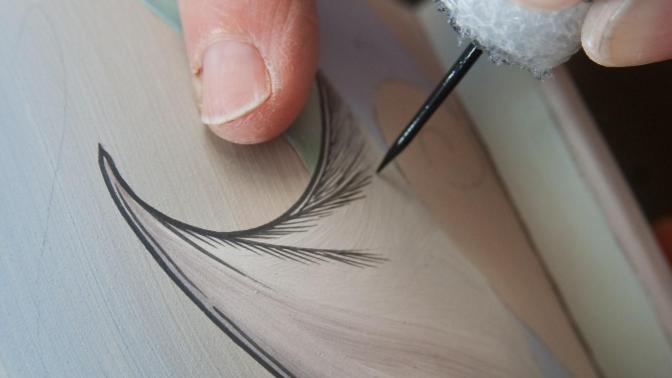
Once all of the color is dry, I use a linear brush (with packing foam taped around the handle for comfort) to apply outlines and details with a black underglaze. This black happens to be Duncan EZ Stroke 012.
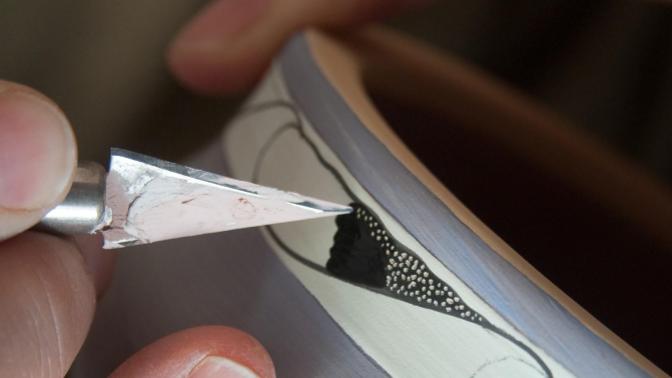
When creating the sgraffito areas, I paint the black underglaze on in a small area, and while it’s wet, I use a sharp tool to pull away the black and reveal the underglaze color beneath.